![]()
WARNING 9/30/2016: Installation of Dell Command | Configure version 9.1 will break Hyper-V on workstations that are running it. Basically, the Dell Command | Monitor overwrites some Hyper-V WMI entries and renders it inoperable. The simple fix is to run the following command after installing Command | Monitor on a system running Hyper-V: ‘mofcomp %systemroot%\system32\WindowsVirtualization.V2.mof’. Step numbers 6 & 9 have been updated below.
Similar to the Dell Command | Configure utility, Dell recently released the Dell Command | Monitor utility (previously known as OMCI or OpenManage Client Instrumentation). Where as the Dell Command | Configure utility enables IT administrators to configure Dell Enterprise client systems, the Dell Command | Monitor allows IT administrators to monitor and inventory system configurations and system health with enterprise management consoles, like System Center Configuration Manager. Now that Windows 10 is here, organizations are going to want to be able to report on UEFI capable systems as part of their planning so that they can be reconfigured for UEFI (instead of legacy BIOS). Running UEFI is a requirement in order to take advantage of the new security features in Windows 10 like Secure Boot, Device Guard and Credential Guard.
In a previous post, Inventory Secure Boot State and UEFI with ConfigMgr, I provided a method that will inventory systems that are running Secure Boot. This method results in the return of three possible values On (1), Off (0) or not detected (Null). Since UEFI is a requirement for Secure Boot, we can determine that UEFI is not enabled for a device if the Secure Boot state is not detected. This is great for high level reporting on how much of the environment is running UEFI, but it does not tell us how many systems (that are not running UEFI) can run UEFI. Using Dell Command | Monitor and System Center Configuration Manager, we can determine not only which systems are running UEFI, but also which systems are UEFI capable. Dell Command | Monitor creates the necessary classes and properties in WMI that enables the monitoring and reporting of this information programmatically.
Part 1 of this post will show you what you need to do in order to distribute Dell Command | Monitor out to your existing systems using System Center Configuration Manager.
Part 2 of this post will show you how to extend System Center Configuration Manager to be able to collect this information and show the exact class that needs to be enabled.
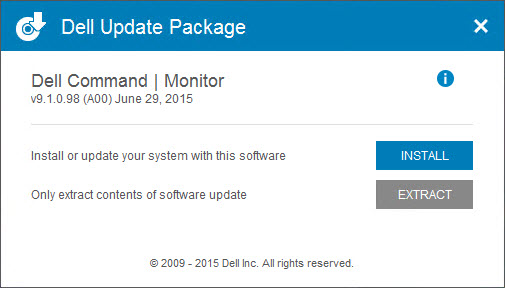
The first thing you need to do is download the x86 and x64 versions (from here: Download 32-bit Dell Command | Monitor v9.1/Download 64-bit Dell Command Monitor v9.1) and install/extract it on a Dell system that is already running Windows 7/8/8.1/10 (there is an option to just extract the contents of the package as well). As of this post, version 9.1 is the latest release.
- After downloading (starting with the 64-bit version) and running the exe, click on extract.

- Create a temporary folder to extract the contents.

- After the extraction completes, click View Folder.

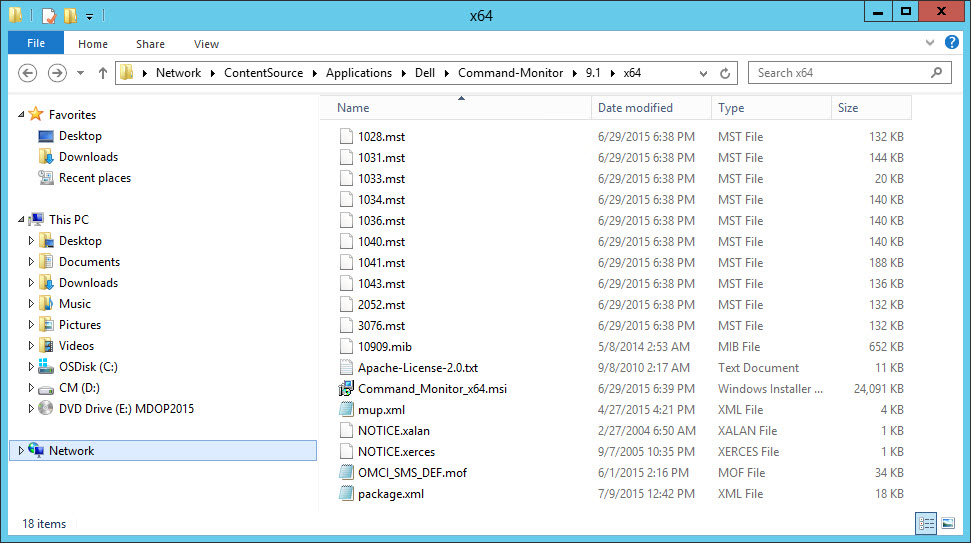
- Create a new folder structure on your Application repository (for this example I use Applications>Dell>Command-Monitor>9.1>x64) and copy the extracted contents to this location.

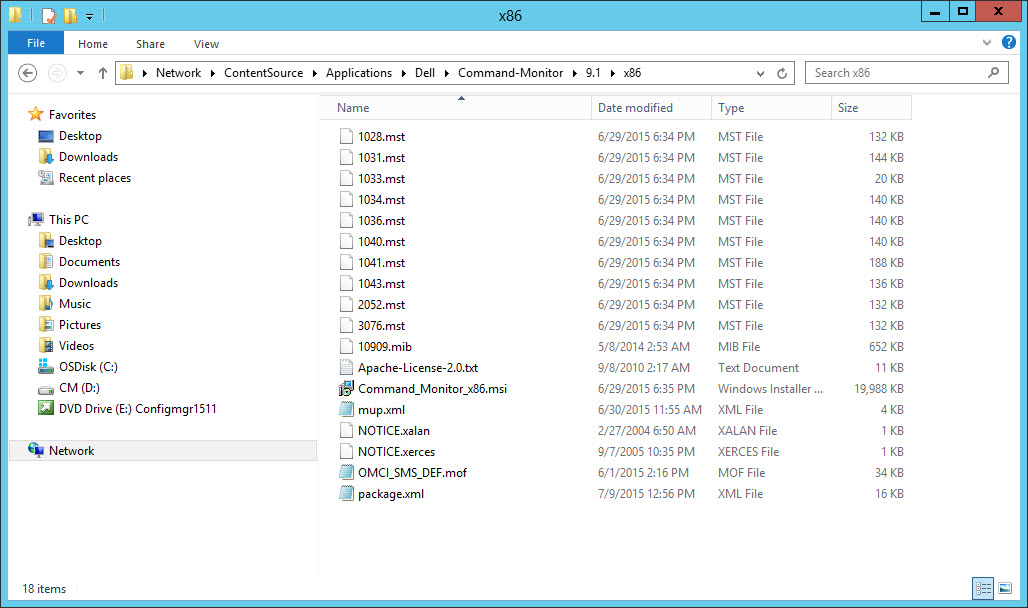
- Download, extract the contents and copy to your Application repository (place the contents in Applications>Dell>Command-Monitor>9.1>x86).

- [Updated for Hyper-V Fix] In the same directory, create the following file and call it Install-x64.ps1
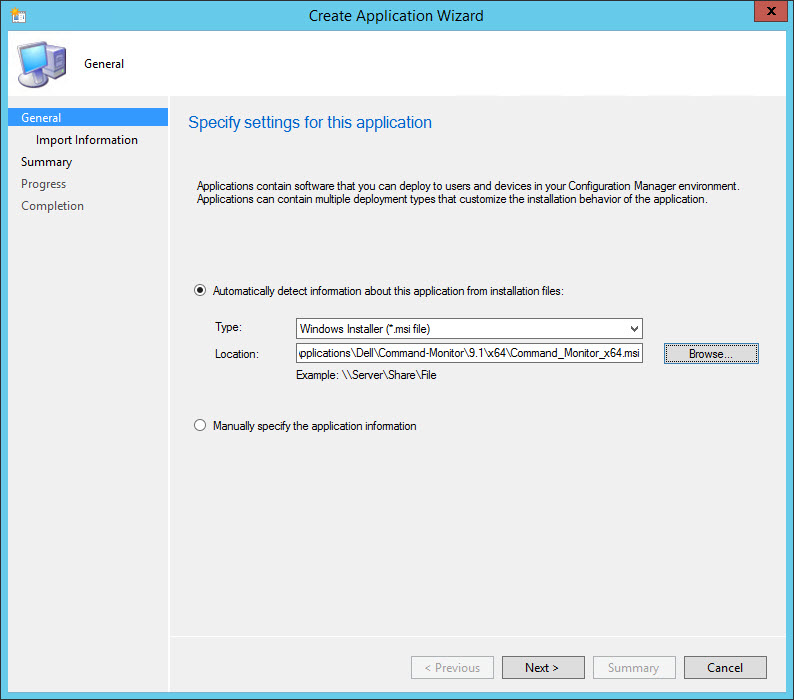
#Install Dell Command | Monitor Start-Process -FilePath "msiexec.exe" -ArgumentList "/i Command_Monitor_x64.msi REBOOT=ReallySuppress /qn" -Wait -Passthru #Check to see if Hyper-V is installed $HypverV = Get-WindowsOptionalFeature -online -featurename Microsoft-Hyper-V-Hypervisor $HypverV.State #Fix Hyper-V Install If ($HypverV.State -eq "Enabled") { $Path = '$env:SystemRoot\System32\WindowsVirtualization.V2.mof' $MofComp = Get-Item 'C:\Windows\System32\wbem\mofcomp.exe' Invoke-expression "& $MofComp $Path" } - In the ConfigMgr Console, create a new Application by browsing to the MSI in the x64 subdirectory on the Application repository and click Next.

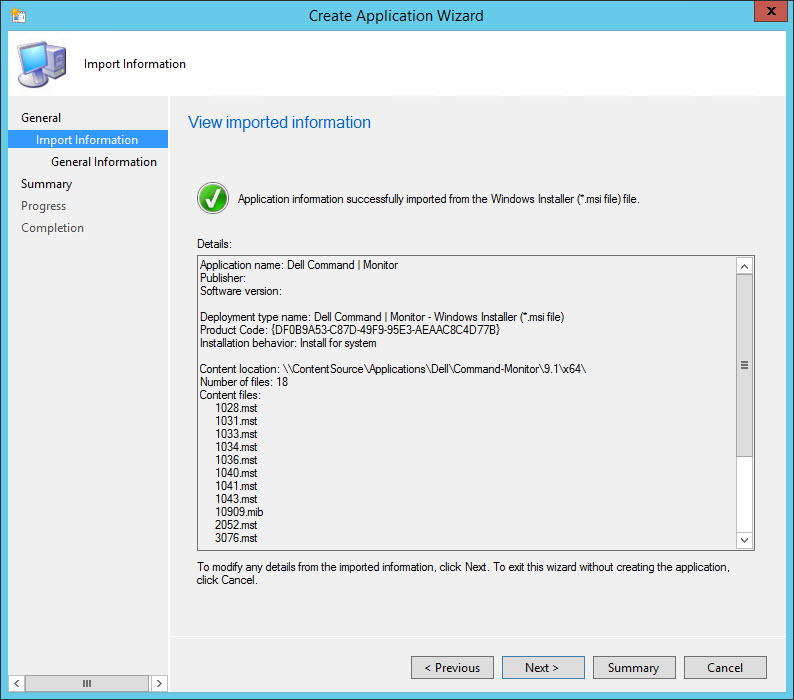
- View the imported information from the MSI and click Next.

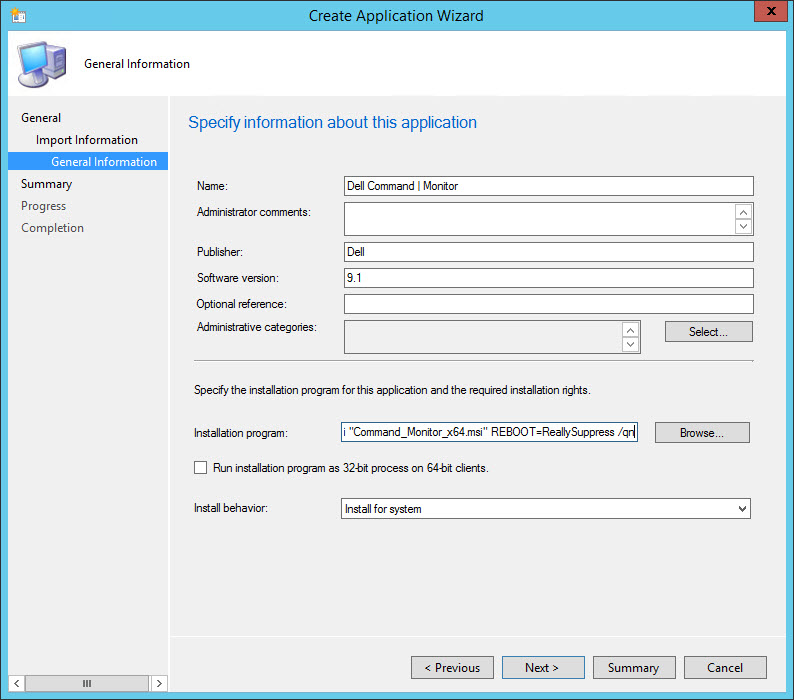
- [Updated for Hyper-V Fix] On the General Information screen verify the following information and change the Installation program to: powershell.exe -ExecutionPolicy Bypass -file “.\Install-x64.ps1”. NOTE: We only need to do this for x64 since Hyper-V is not available on x86.

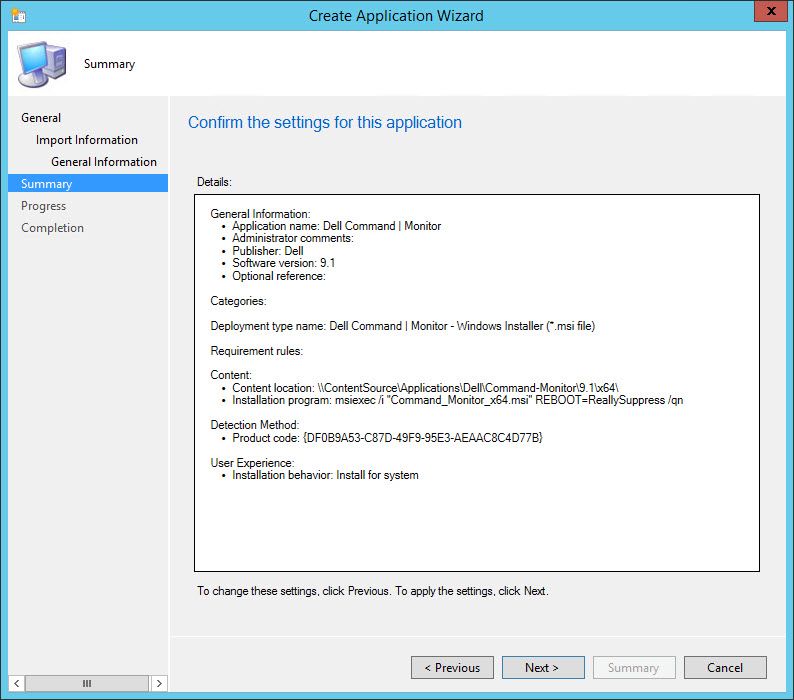
- Confirm the settings on the Summary screen and click Next.

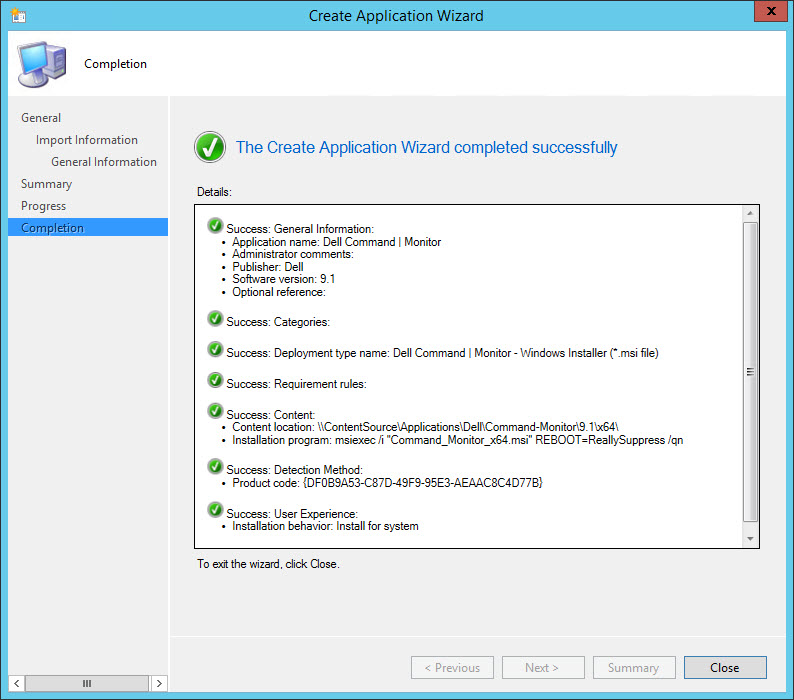
- Verify that The Create Application Wizard completed successfully and click Close.

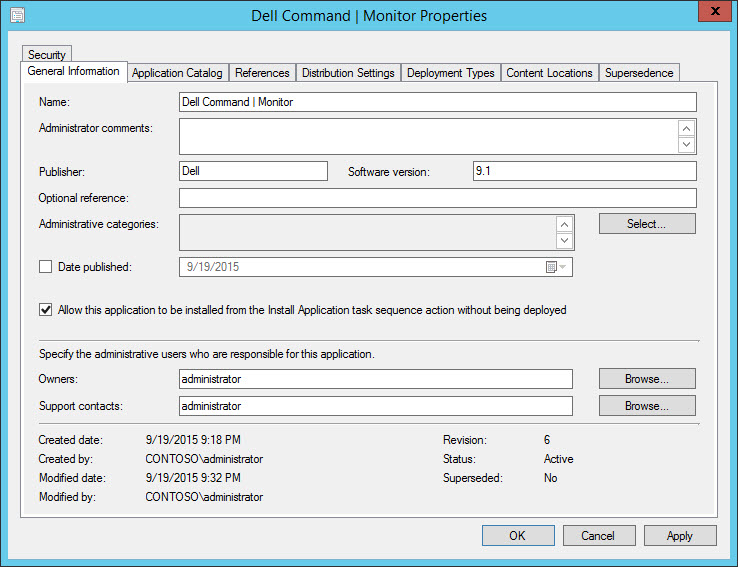
- Next, open up the Properties of the newly created Application.

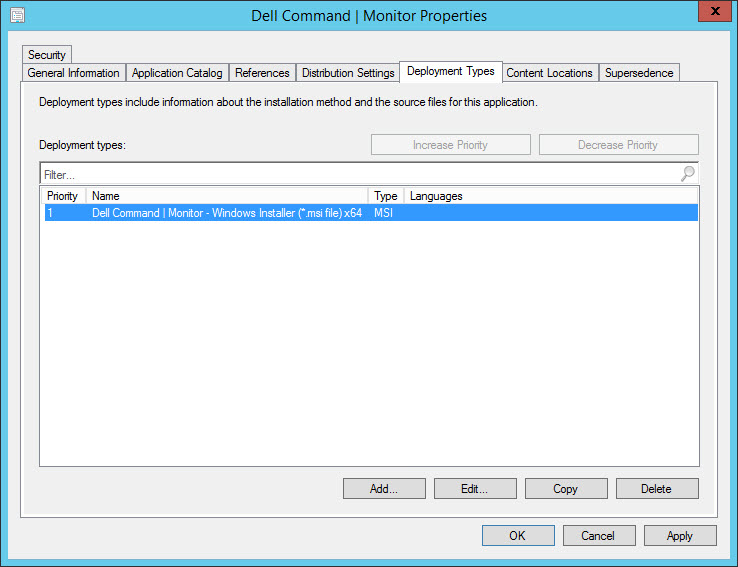
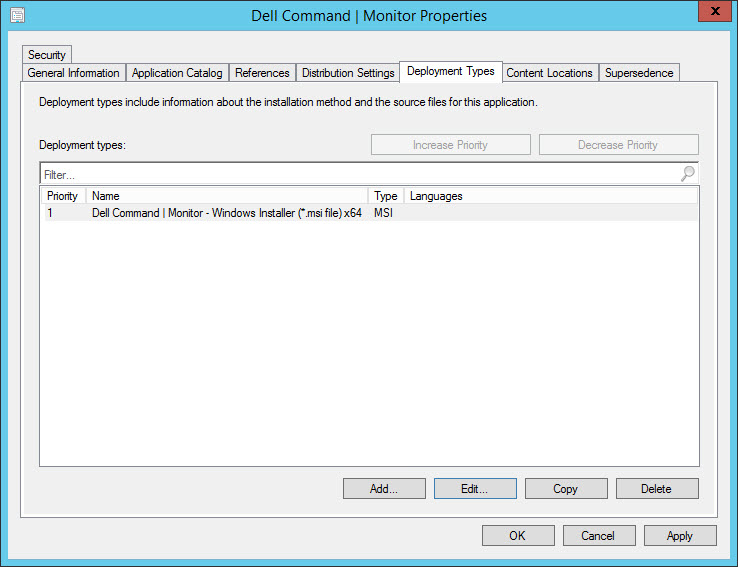
- Select the Deployments Types tab and edit the listed Deployment Type.

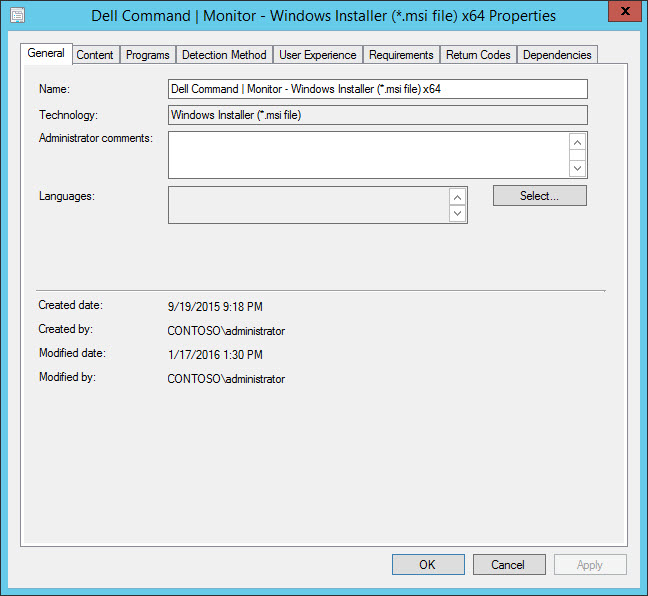
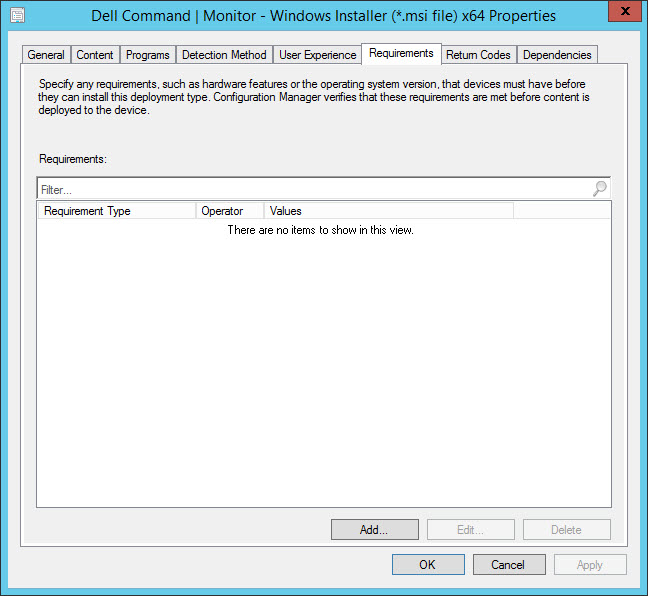
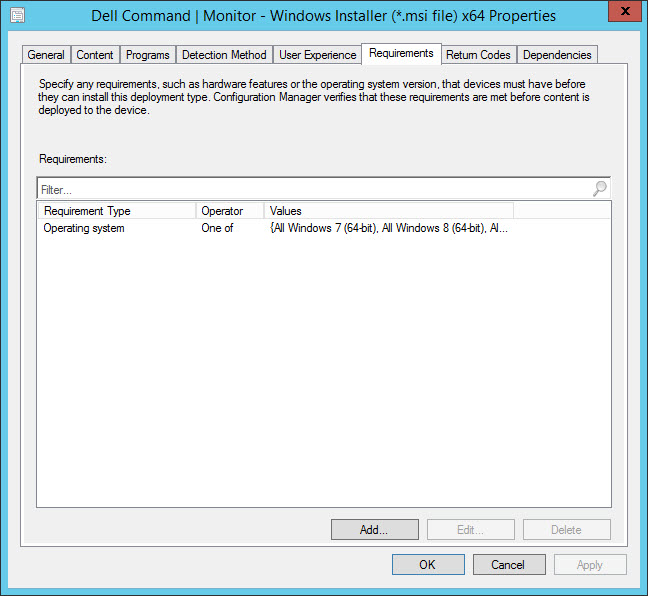
- On the Deployment Type Properties, select the Requirements tab. Note: I like to add x64 to the name of the Deployment Type.

- On the Requirements tab, click the Add button.

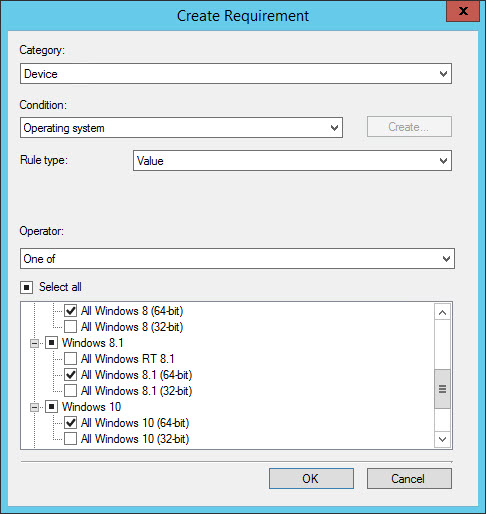
- Select all of the 64-bit workstation versions of Windows that are supported in your environment and click Ok.

- Back on the Deployment Type Properties screen verify the following and click Ok.

- Now we need to add in the 32-bit Deployment Type. Back on the Deployment Types tab, click the Add button.

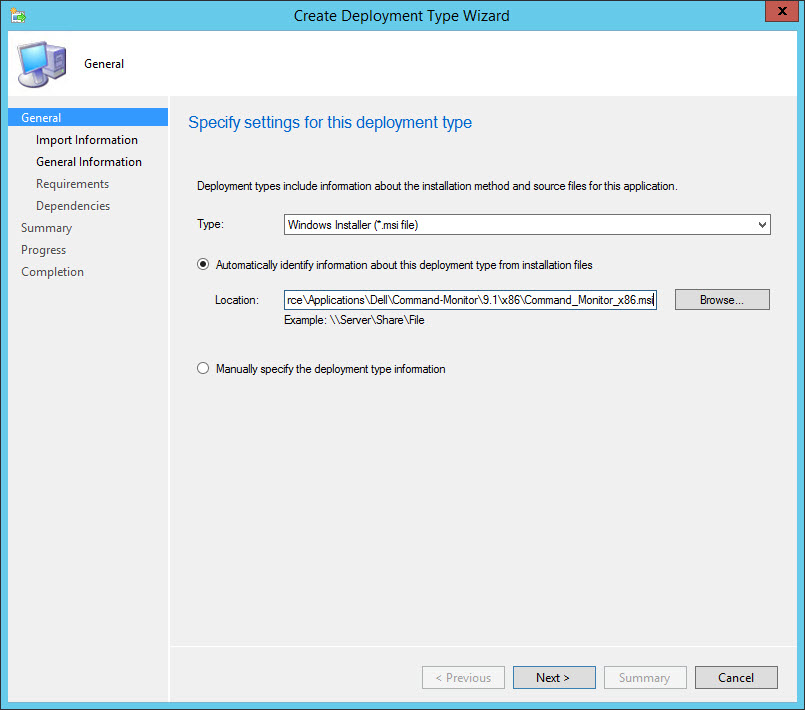
- On the General screen of the Create Deployment Type Wizard, browse to the Application repository for the 32-bit MSI and click Next.

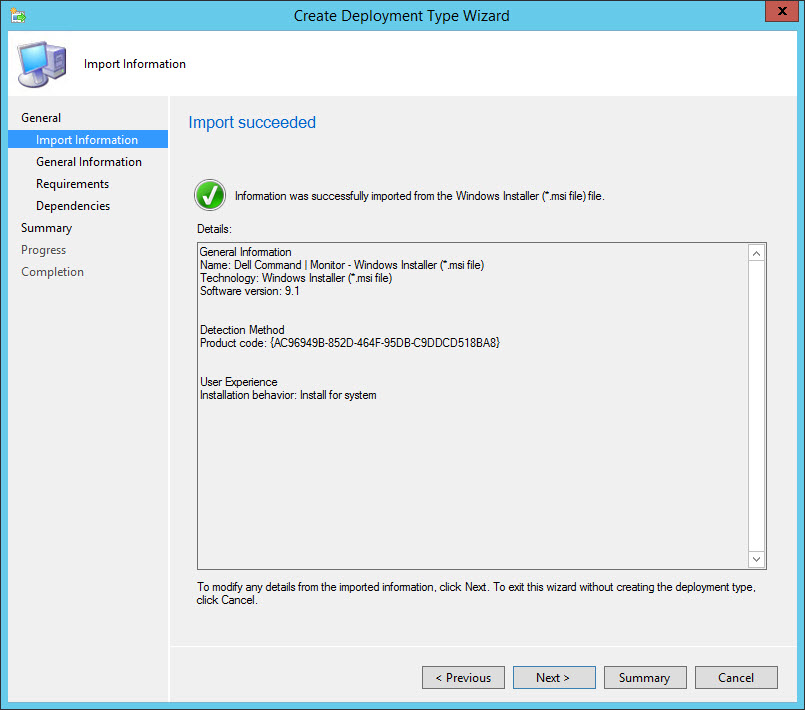
- Verify the that import succeeded and click Next.

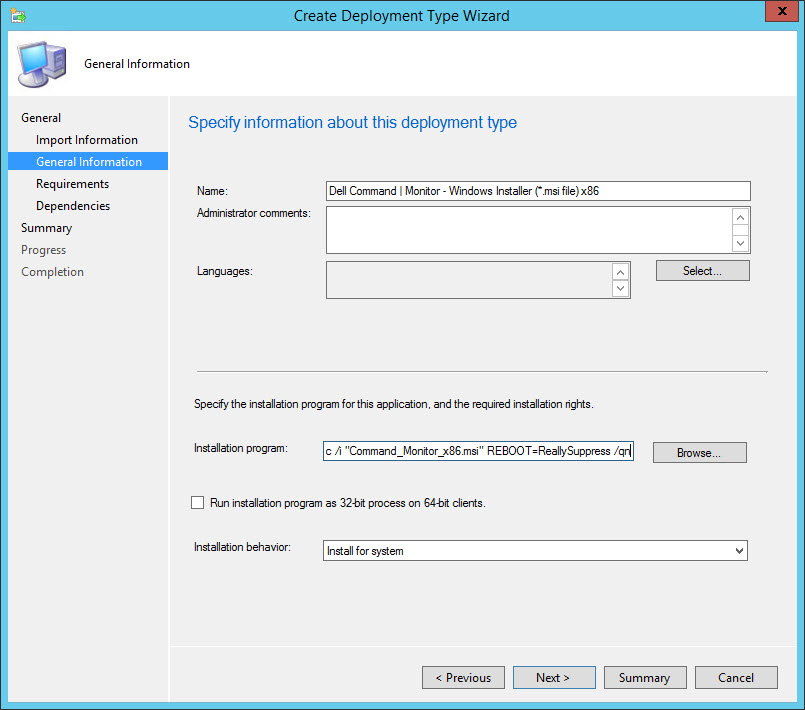
- On the General Information screen, verify the following information and click Next. Note: I like to x86 to the Name and add REBOOT=ReallySuppress and /qn to the command line.

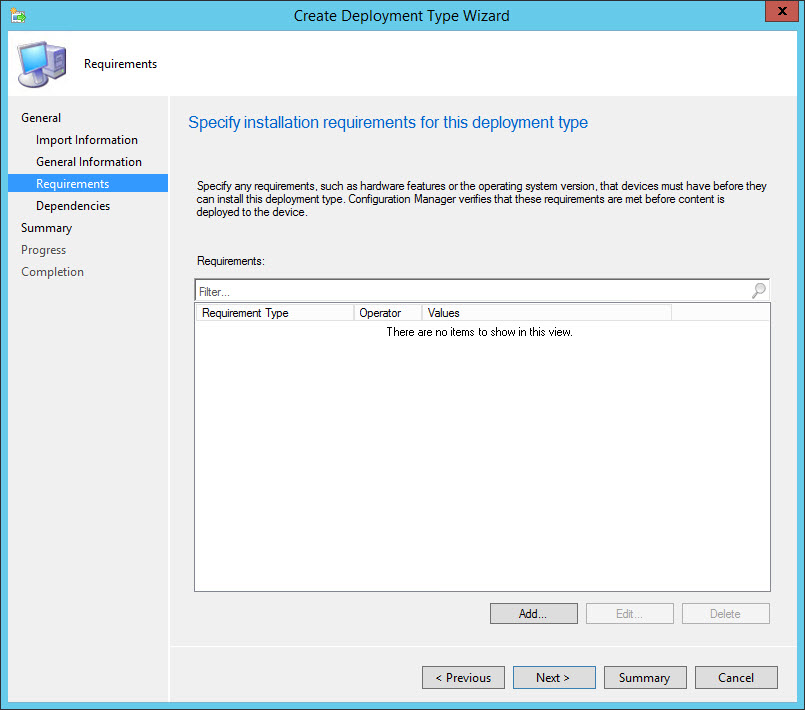
- On the Requirements screen, click the Add button.

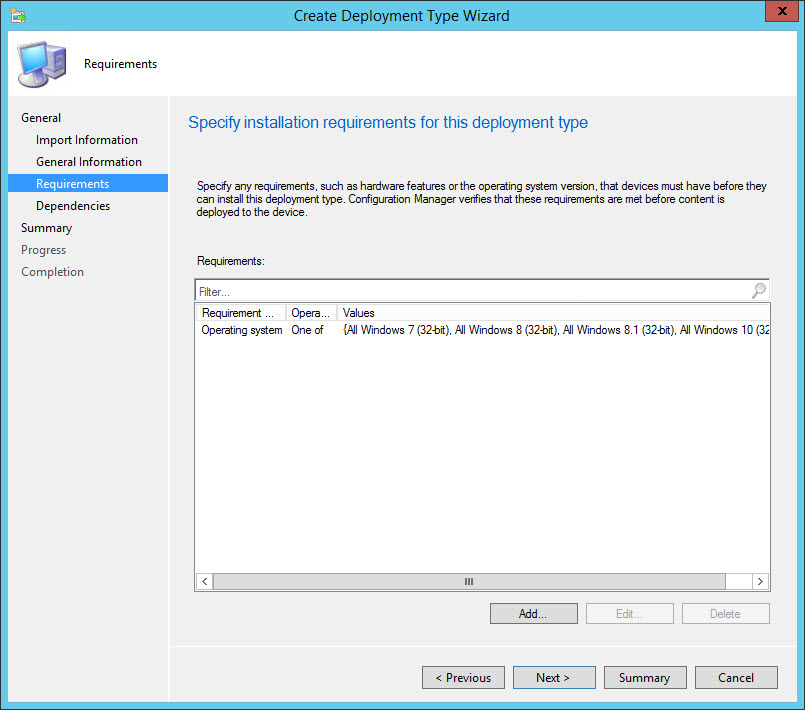
- Select all of the 32-bit workstation versions of Windows that are supported in your environment and click Ok.

- Back on the Requirements screen, verify the following information and click Next.

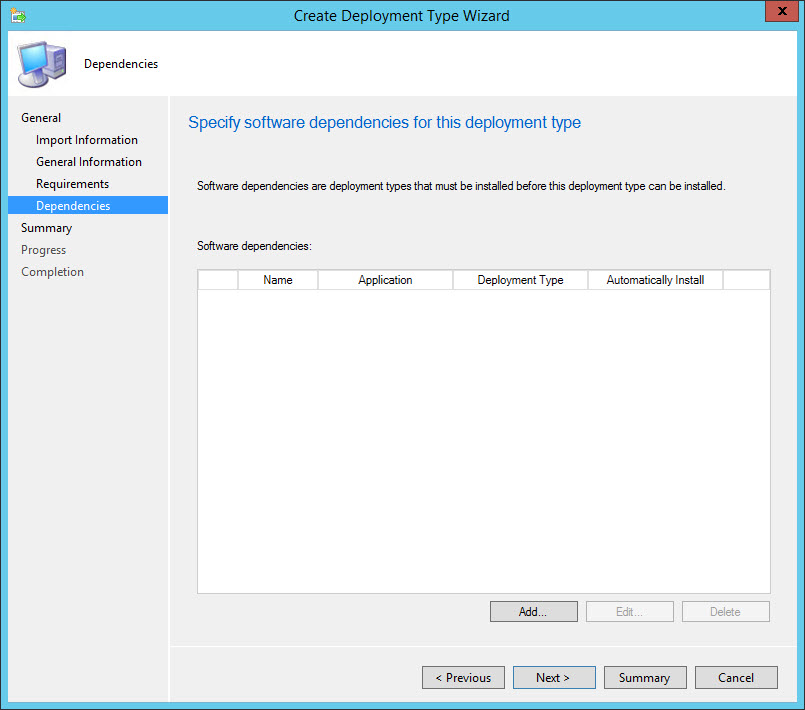
- On the Dependencies screen, click Next.

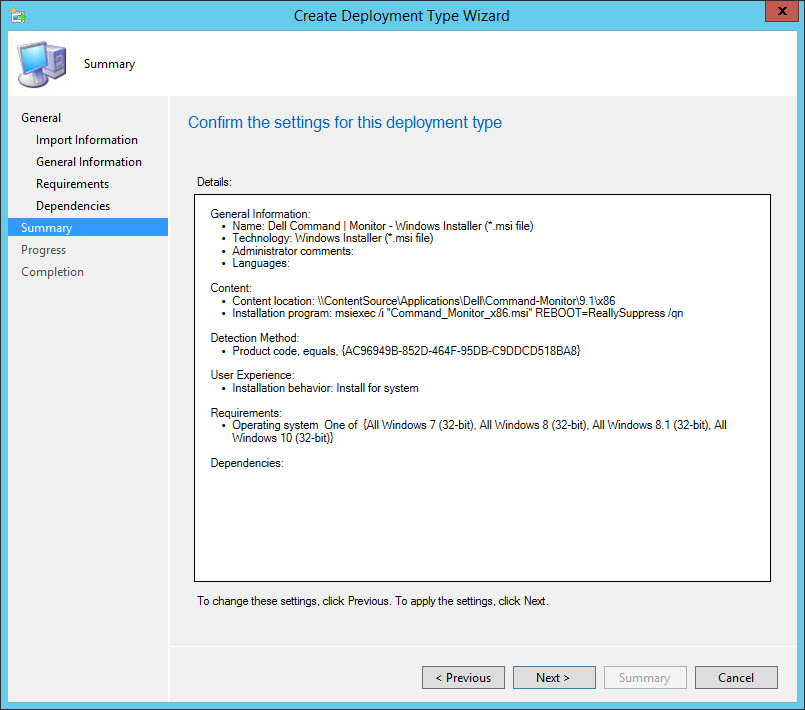
- On the Summary screen, verify the settings and click Next.

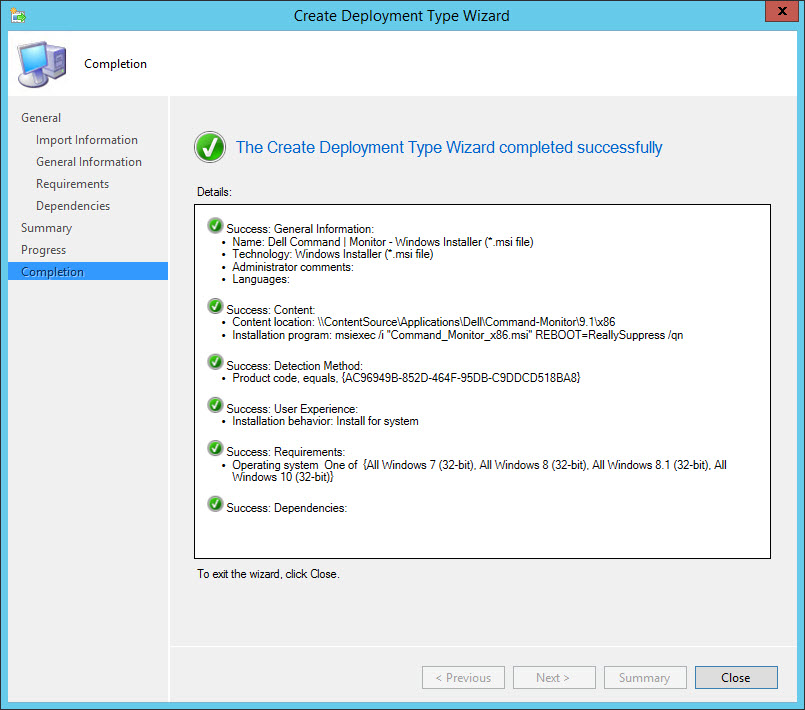
- On the Completion screen, verify success and click Close.

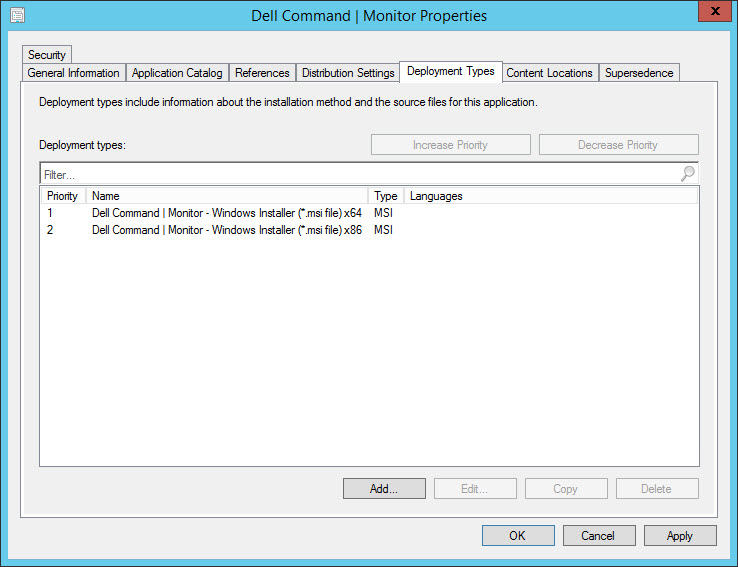
- Back on the Deployment Types tab click Ok.

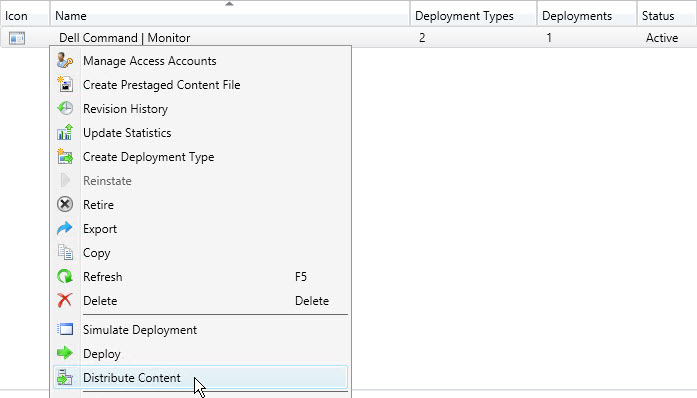
- You will now see the Application with two Deployment Types listed in the console. Now we need to distribute the content to our Distribution Point(s). Right-click and select Distribute Content.

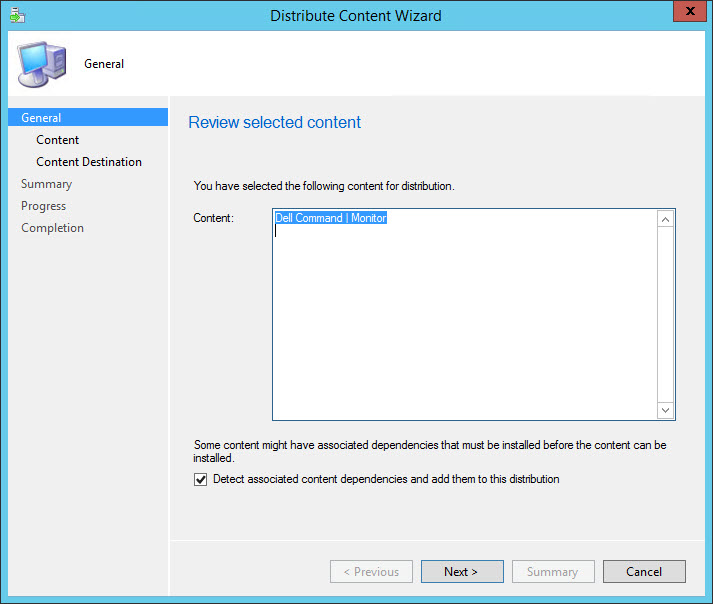
- On the General screen of the Distribute Content Wizard, click Next.

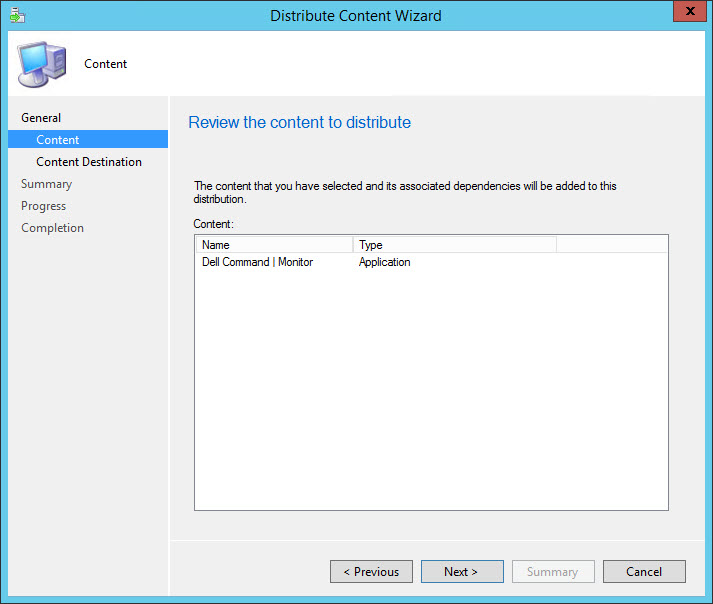
- On the Content screen, click Next.

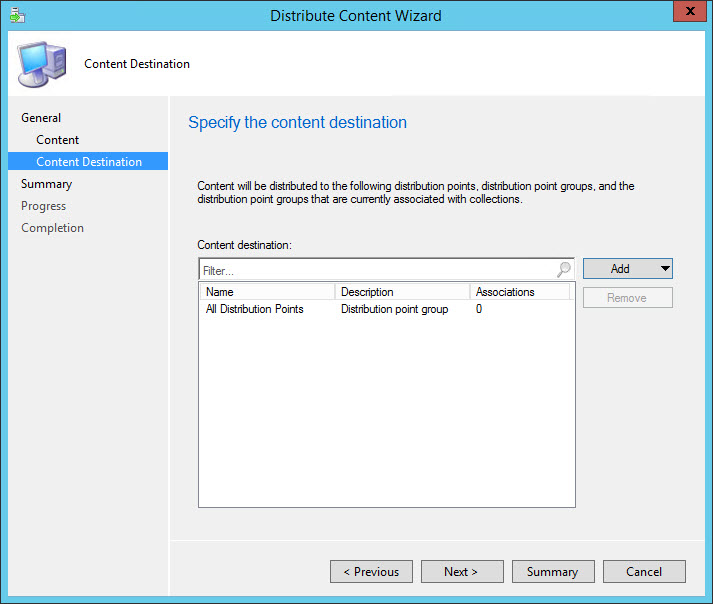
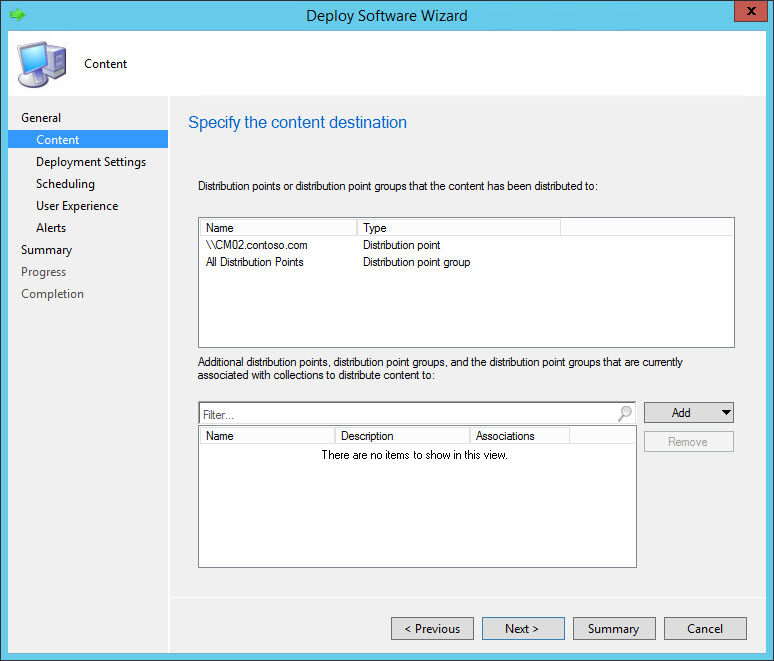
- On the Content Destination screen, select the desired Distribution Point Group (or Distribution Point) and click Next.

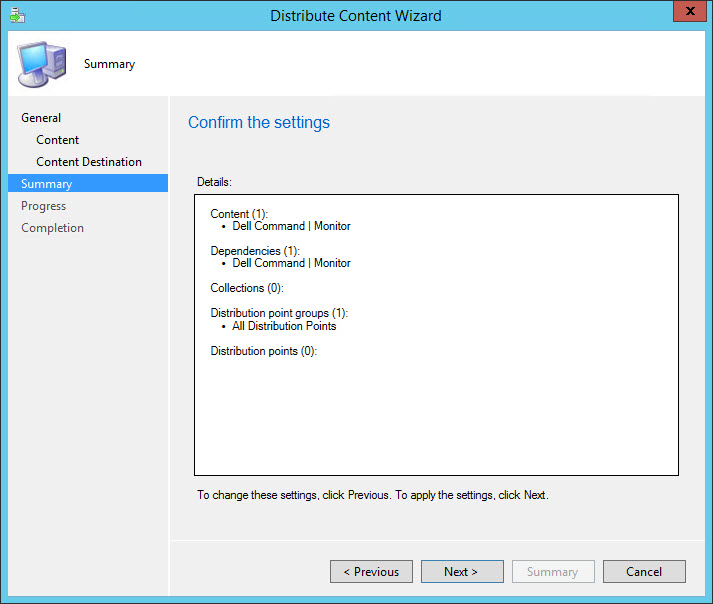
- On the Summary screen, confirm the settings and click Next.

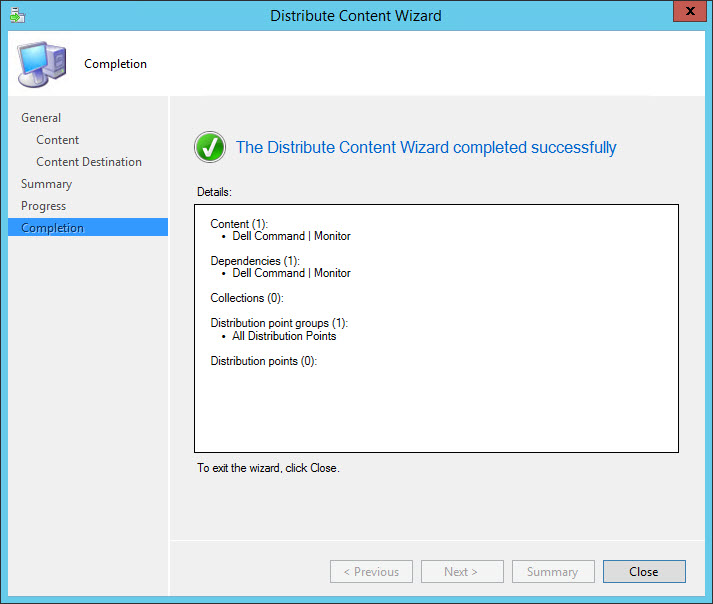
- On the Completion screen, verify the wizard completed successfully and click Close.

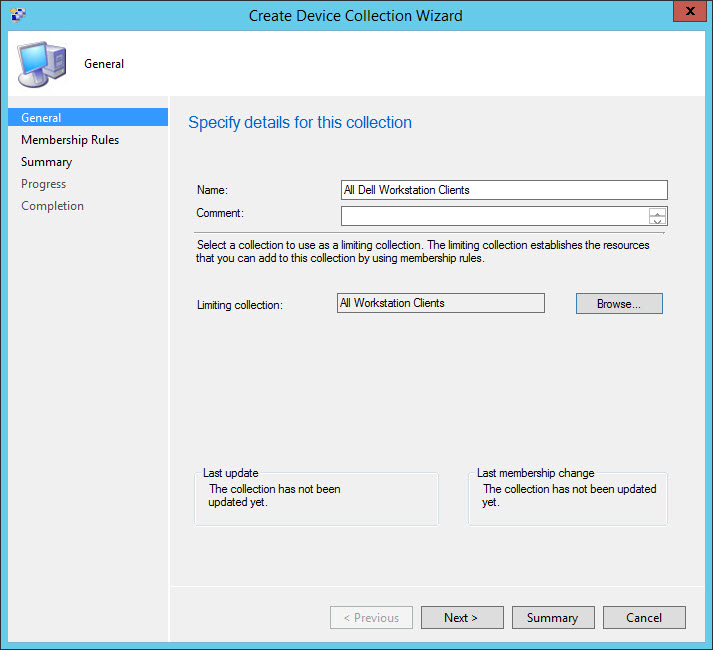
- Now we need to create a collection that contains only Dell workstation clients that we can use to deploy the newly created Dell Command | Monitor Applications. Create a new collection called All Dell Workstation Clients. On the General screen of the Create Device Collection Wizard, enter the following information and click Next. Note: I like to limit workstation collections to my All Workstation Clients collection.

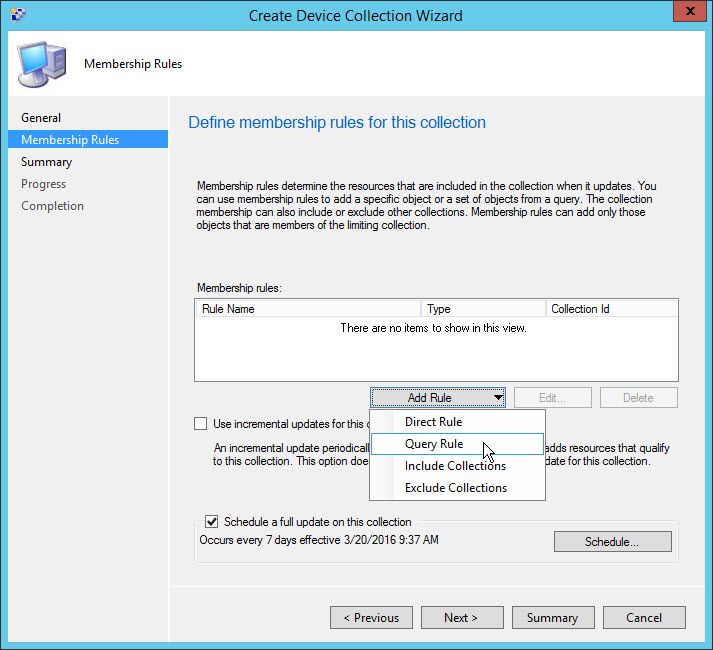
- On the Membership Rules screen, click Add Rule and select Query Rule.

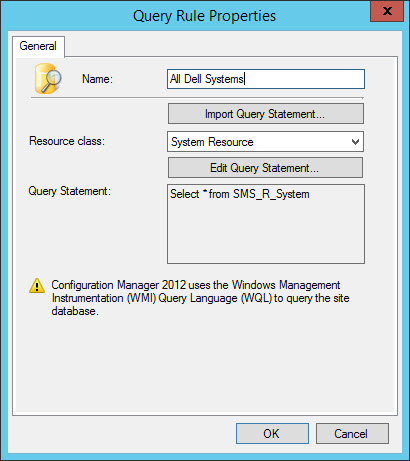
- On the Query Rule Properties screen, type All Dell Systems for the Name and then click Edit Query Statement.

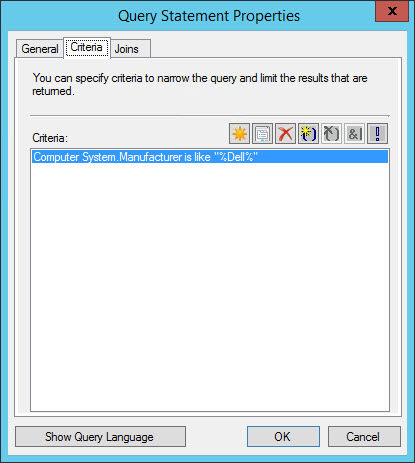
- On the Query Statement Properties screen, select the Criteria tab and use Computer System.Manufacturer is like “%Dell%” and click Ok.

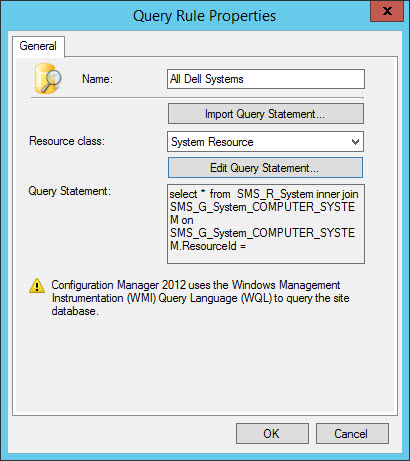
- Back on the Query Rule Properties screen, verify the following information and click Ok.

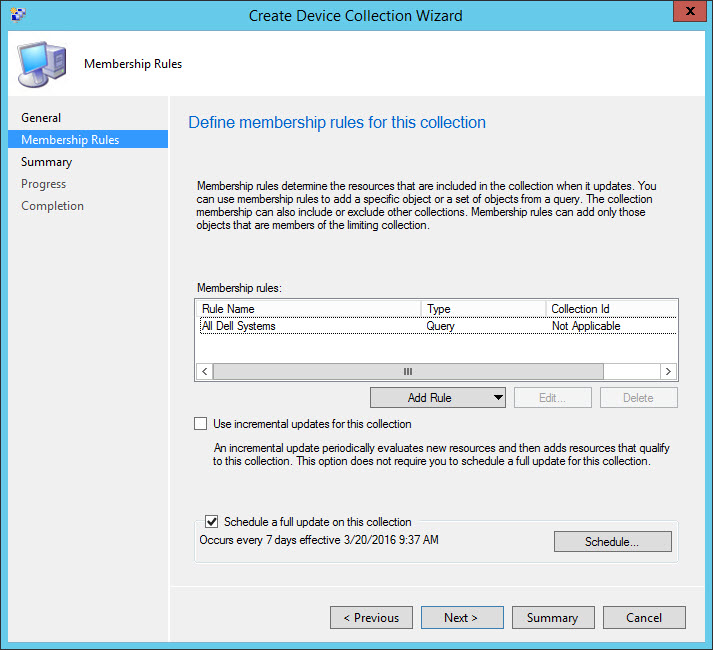
- Back on the Membership Rules screen, verify the following information and click Next.

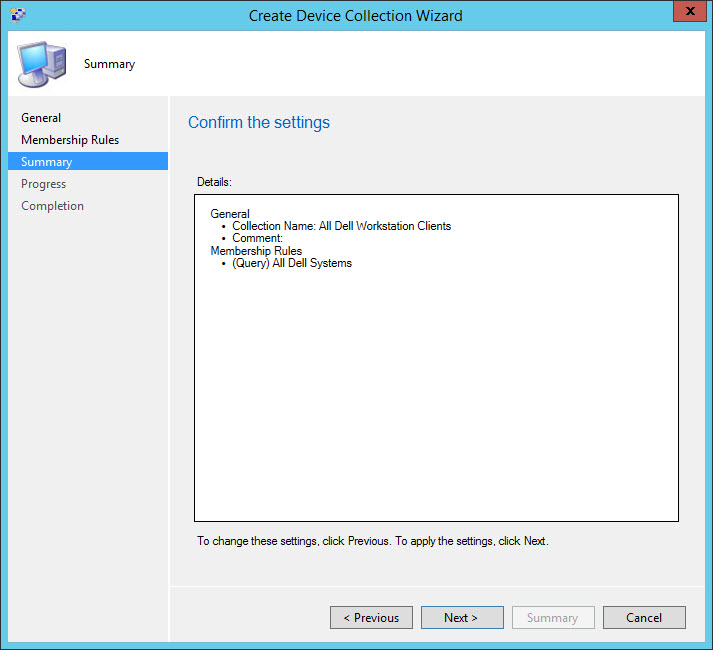
- On the Summary screen, confirm the settings and click Next.

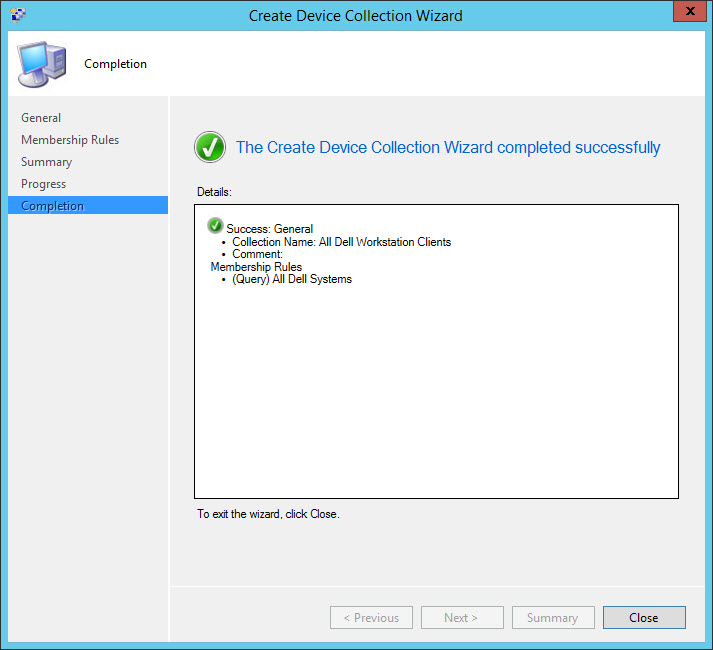
- On the Completion screen, verify the wizard completed successfully and click Close.

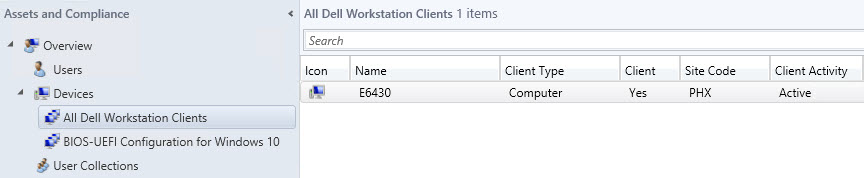
- Once the collection evaluation has completed, verify that the collection membership is working as expected and only contains Dell Workstation Clients.

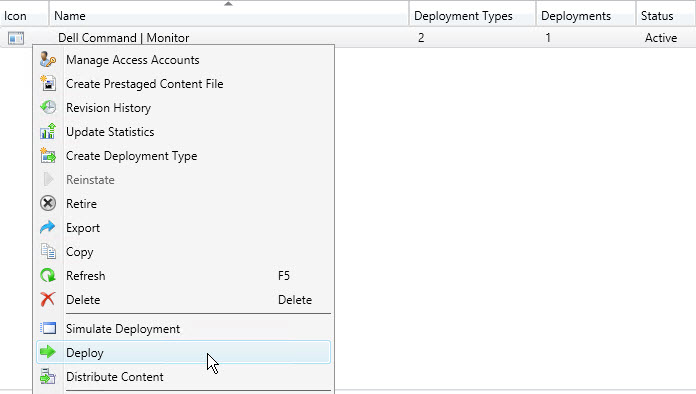
- Create a test deployment of the Dell Command | Monitor Application and verify that it is installing correctly. Back in the Software Library in the ConfigMgr Console, right click on Dell Command | Monitor Application and select Deploy.

- On the General screen of the Deploy Software Wizard, select the All Dell Workstation Clients collection and click Next. Note: Be sure to thoroughly test this in a lab first!

- On the Content screen, verify that the content has already been distributed to the Distribution Point Group(s)/Distribution Point(s) and click Next.

- On the Deployment Settings screen, choose Required for the Purpose and click Next.

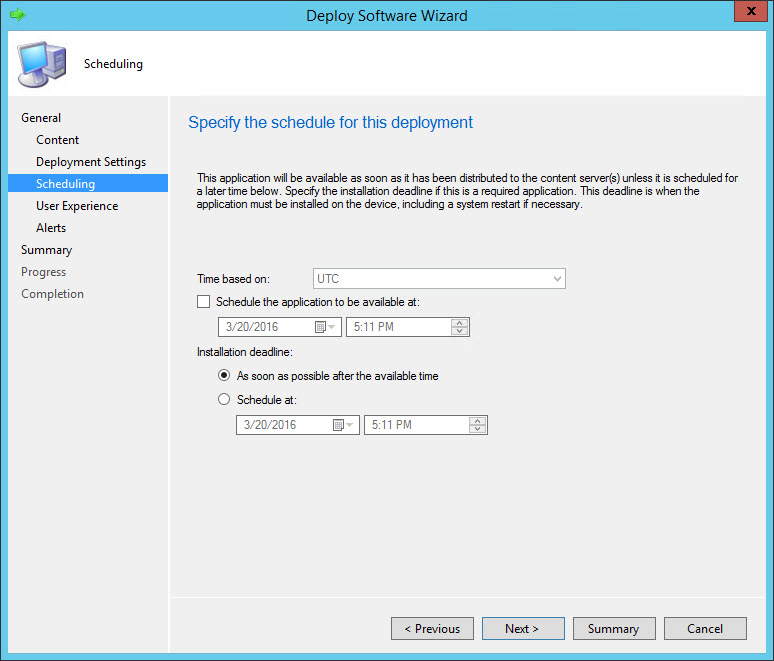
- On the Scheduling screen, select the desired schedule and click Next.

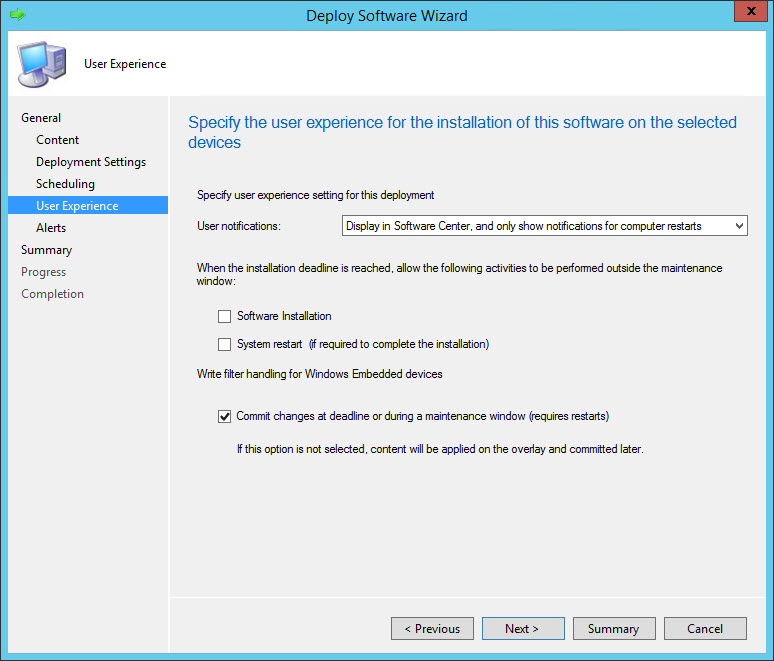
- On the User Experience screen, select the desired settings and click Next.

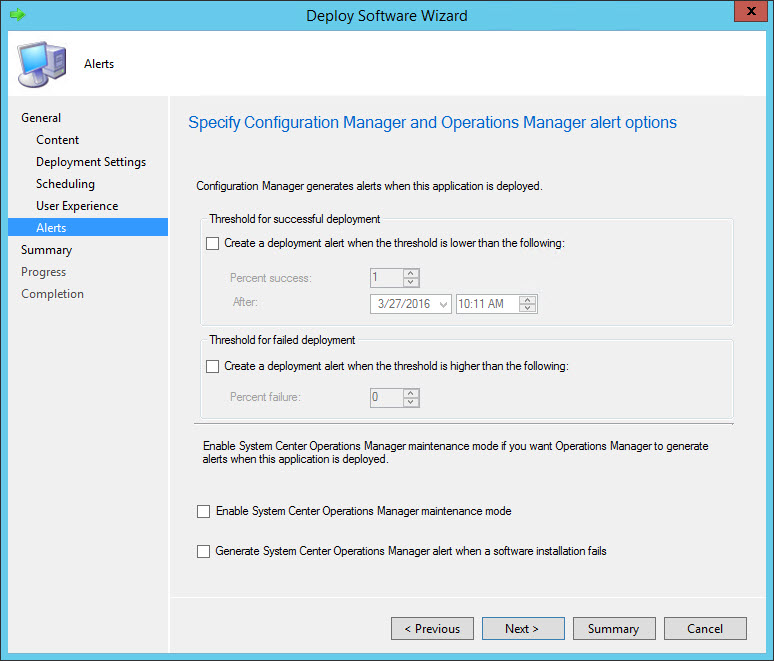
- On the Alerts screen, click Next.

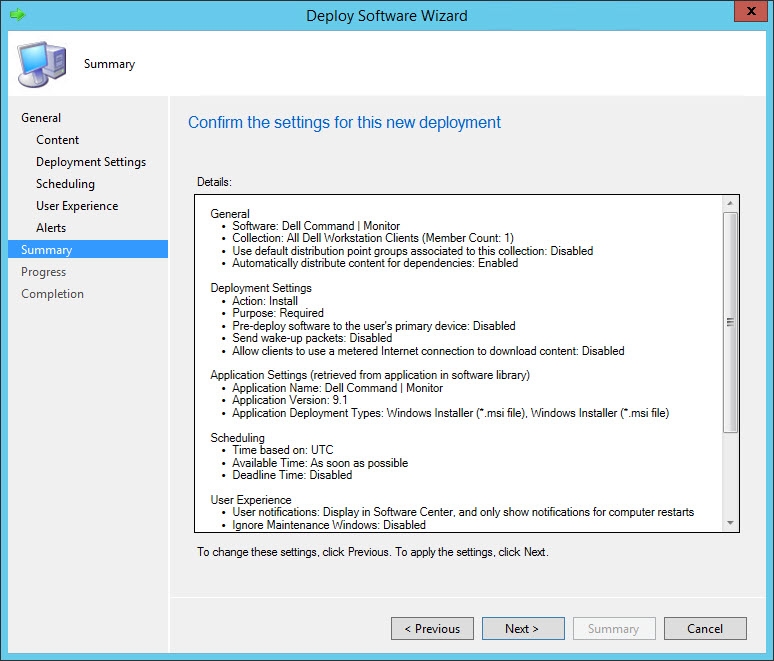
- On the Summary screen, verify the settings and click Next.

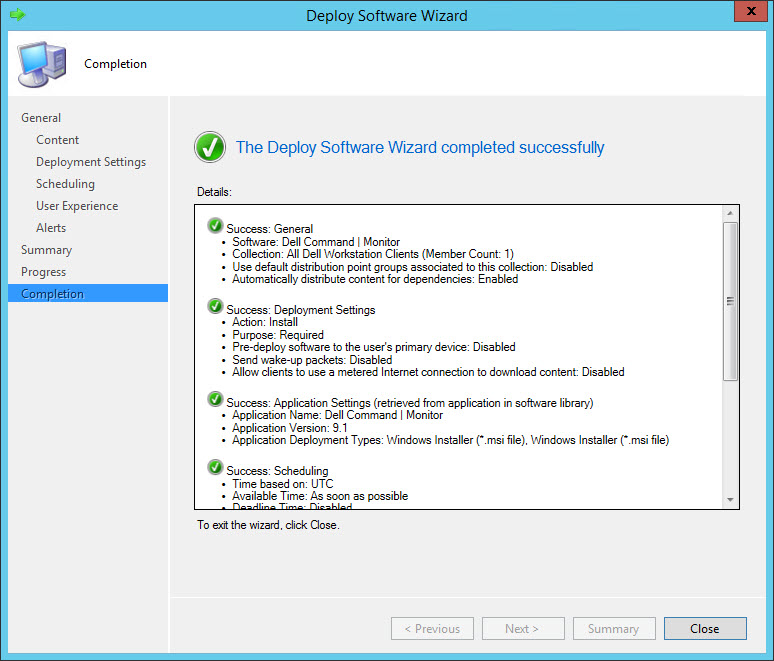
- On the Completion screen, verify the wizard completed successfully and click Close.

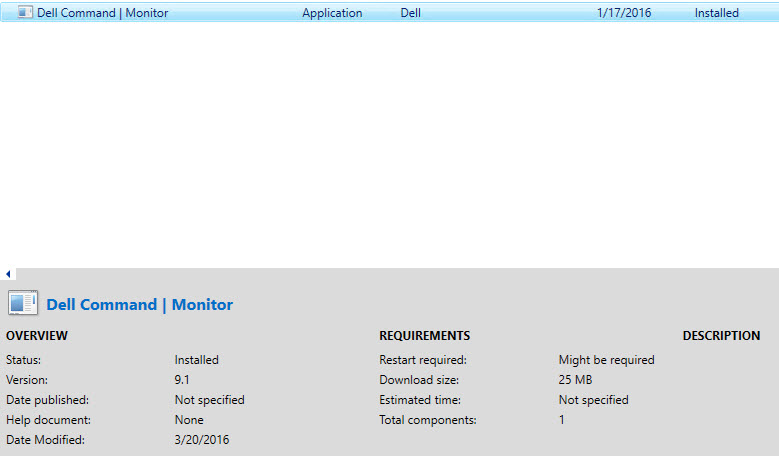
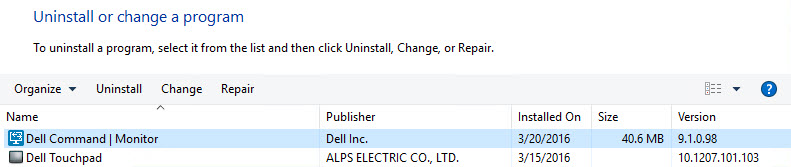
- Next, verify that it installed successfully by looking in Software Center and Programs and Features.


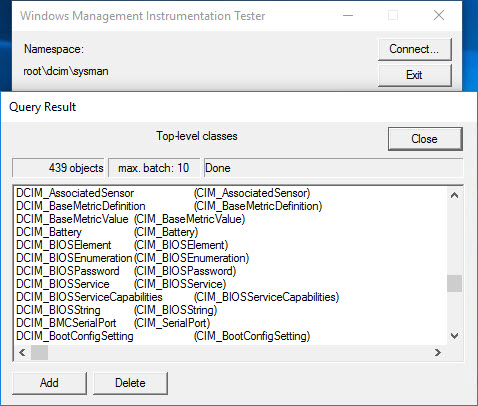
- Using Wbemtest, you will now see all of the Dell specific classes in root\dcim\sysman.


Now that Dell Command | Monitor is deployed, we can now use this information in a whole new way with System Center Configuration Manager. We can use it in Reports, Settings Management, and query criteria (just to name a few). Part 2 of this blog will show you how to extend System Center Configuration Manager to be able to collect this information and show the exact class that needs to be enabled to report on BIOS-UEFI settings.
Originally posted on https://miketerrill.net/

Nice, thanks for sharing. I’m still using old Dell OMCI 7.x and really need to update.
Pingback: How to Inventory Dell BIOS and UEFI Settings with ConfigMgr Part 2 | Mike's Tech Blog
Pingback: Charlie's Tech Ramblings » Blog Archive » Querying Dell Monitor Information in SCCM
Pingback: How to Deploy Dell Command | PowerShell Provider with ConfigMgr | Mike's Tech Blog
Hi Mike! Thanks for the great post! One question Dell have released 9.2 of the Dell Command | Monitor, do you know if the “Hyper-V” fix is still needed?
regards Bo
Hi Bo,
I am not sure if it is fixed yet or not. I haven’t had a chance to test that version. If you find out, reply back to this thread.
-Mike
Looks like the bug is still there for 9.2 and still breaks Hyper-V
Lovely – I suggest raising a support case with Dell.
Need to split out the x64 Windows 7 deployment into its own, or add logic to your script. “Get-WindowsOptionalFeature” does not exist for Win7
Good point – I wasn’t dealing with any Win7 at the time.
Pingback: A Few WMI Scripts for Getting Temperature or Tag information from your Dell Server – louisOpedia
Invoke-expression “& amp $MofComp $Path” } Fails
Invoke-expression “& $MofComp $Path” } Success
Yep – thanks for spotting that. The WordPress formatting messed up the code by throwing in that extra ‘amp’.
Pingback: Configuring WoL with CM for Dell Desktops – Part 3 | Mike's Tech Blog