Have you ever had (or wanted) the need to PXE boot from different Configuration Manager sites? Maybe your test machines are all on the same network and can talk to your ConfigMgr lab site, your ConfigMgr Technical Preview site, or your production ConfigMgr site. Heck, maybe you want to PXE boot from stand alone MDT as well from the same WDS PXE server. Well if you want this ability, keep on reading. If you are content with booting off USB sticks, then you can save some time and go get ready to update all your keys with the next ADK WinPE release (oh, and don’t forget to label them).
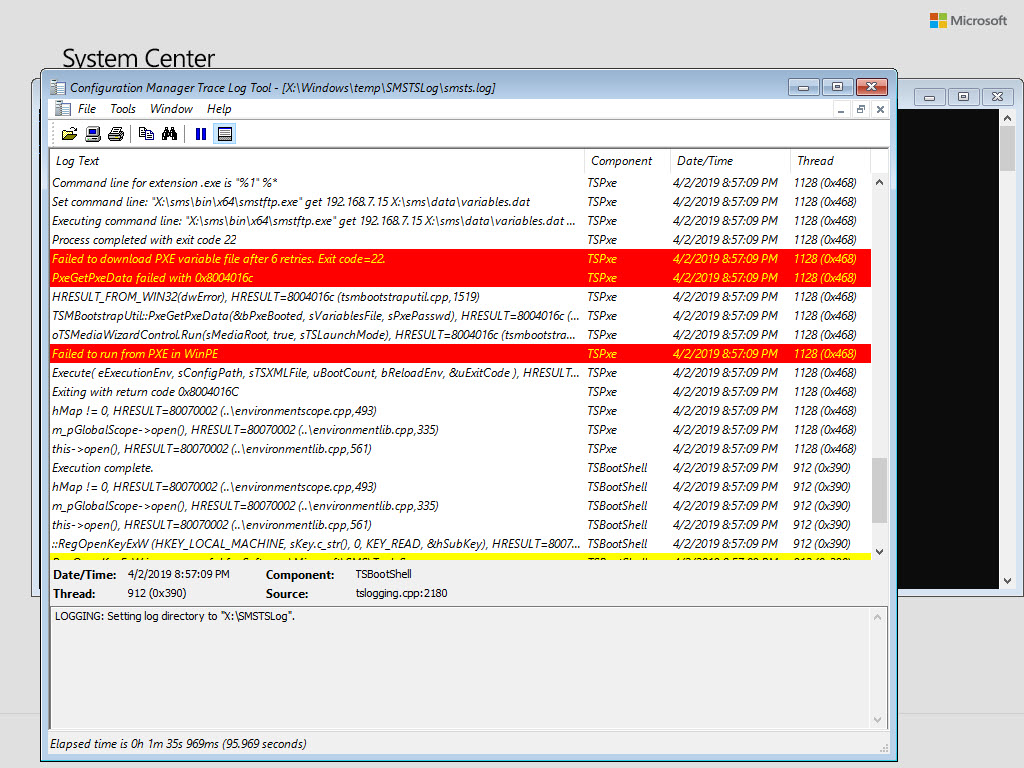
In my home lab I have an non-domain joined stand alone MDT server that also has WDS installed. I use this MDT when I need to prep an existing device for Autopilot (BTW – Per Larsen has a great blog on how to do this called How to deploy Autopilot device fast with MDT). I also have a few other environments that I run – one is in my Contoso domain and the other one is in my ViaMonstra domain (thanks Johan!). Depending on what I am doing, sometimes I will want to test OSD out in one or the other as I usually upgrade one of them during the fast ring and the other one once CB hits the slow ring. But having multiple PXE servers responding on the same network is much like mixing cats and dogs. That’s when I got a light bulb moment – ‘I can just import the Boot Image from each site into my WDS server and life will be great’. Except there was one little thing that I was forgetting about…when you PXE boot from a ConfigMgr DP, there is some black magic that happens. The initial TS environment variables (the things that tells the client what site to contact, certificate information, etc.) get tftp’ed from the ConfigMgr PXE DP. Since my stand alone WDS server has no idea what was being asked of it (since it knows nothing of ConfigMgr), the client never gets a response on how to proceed as you can see below:
Luckily I have dabbled a bit with PXE booting (yeah – I was P2P PXE booting before P2P PXE booting was cool) and know a few tricks on how to make things work the way we want it to work. The first thing you are going to need to do is Create Task Sequence Media from one of your ConfigMgr sites (you are thinking – ‘but I thought we are PXE booting’, relax, we are and this is where the trick comes in). Start Create Task Sequence Media Wizard and select the Bootable media option. Run through the wizard selecting the options you would normally choose for your environment and select the media type to be ISO.
Copy the boot.wim to a working directory on your WDS server. If you are using the default boot image in ConfigMgr, you can find the x64 version under \Program Files\Microsoft Configuration Manager\OSD\boot\x64. Be sure to copy the boot.{PackageID}.wim file (in this example it would be boot.PS100005.wim) as this is the one that will have all the ConfigMgr binaries. You can rename it if you like when you copy it (I usually just rename it to Site_xxxx-yyyy_x64.wim but this is optional).
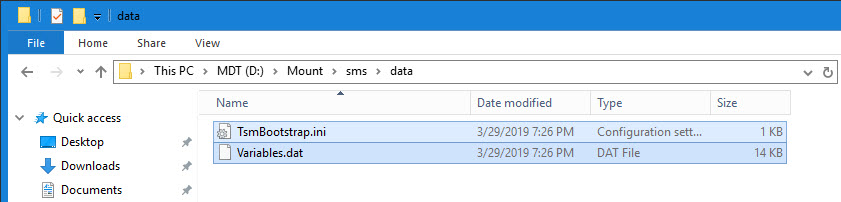
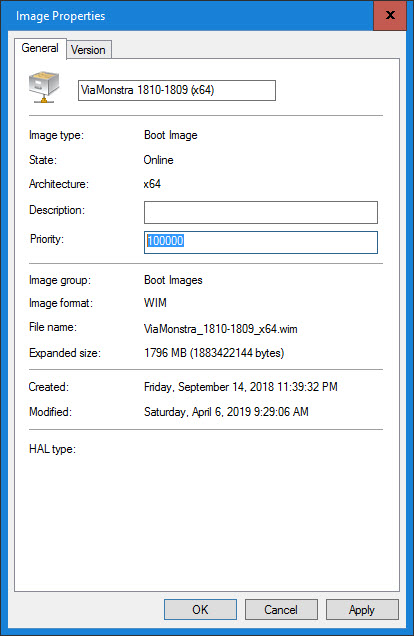
On my WDS/MDT server, I created a directory called Boot Images and I created a sub folder for each of my labs to stay organized. I like to version my boot images by creating a subdirectory that corresponds to the production client version of the site and the ADK WinPE version of the boot image. For example, 1810-1809 means that my production client version is 1810 and the ADK WinPE version is 1809. Now I have my ViaMonstra_1810-1809_x64.wim (boot wim) and my ViaMonstra_1810-1809_x64.iso (boot media ISO) in the following directory.

Now mount the ISO and navigate to the SMS\data directory. Copy TsmBootstrap.ini and Variables.dat back into the working directory. NOTE: You could just mount the ISO and inject them into the boot image on the fly, but I like having the files outside of the ISO.

Open an elevated command prompt and mount the boot_x64.wim to a temporary mount directory (I created one called D:\mount):
dism /mount-wim /wimfile:”D:\Boot Images\ViaMonstra\1810-1809\boot_x64.wim” /index:1 /mountdir:d:\mount

Create a directory called data under sms and copy both TsmBootstrap.ini and Variables.dat to this directory:
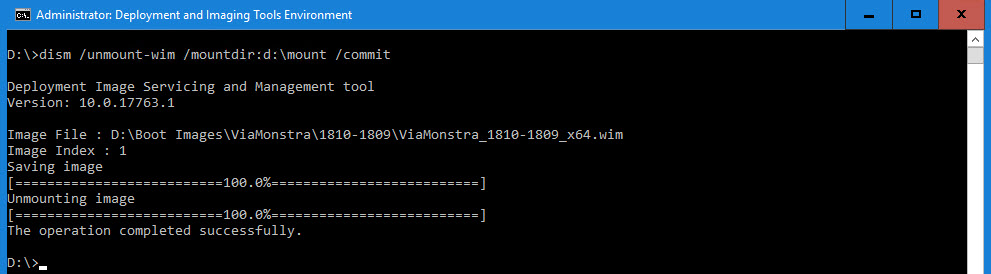
Exit out of the directory and unmount the wim:
dism /unmount-wim /mountdir:d:\mount /commit
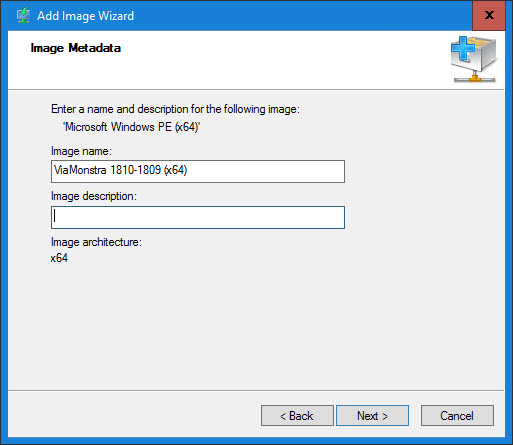
Add the Boot Image into WDS and give it a meaningful name and description:
Optionally, change the Priority to control the display order and default selection:
PXE boot a test client:

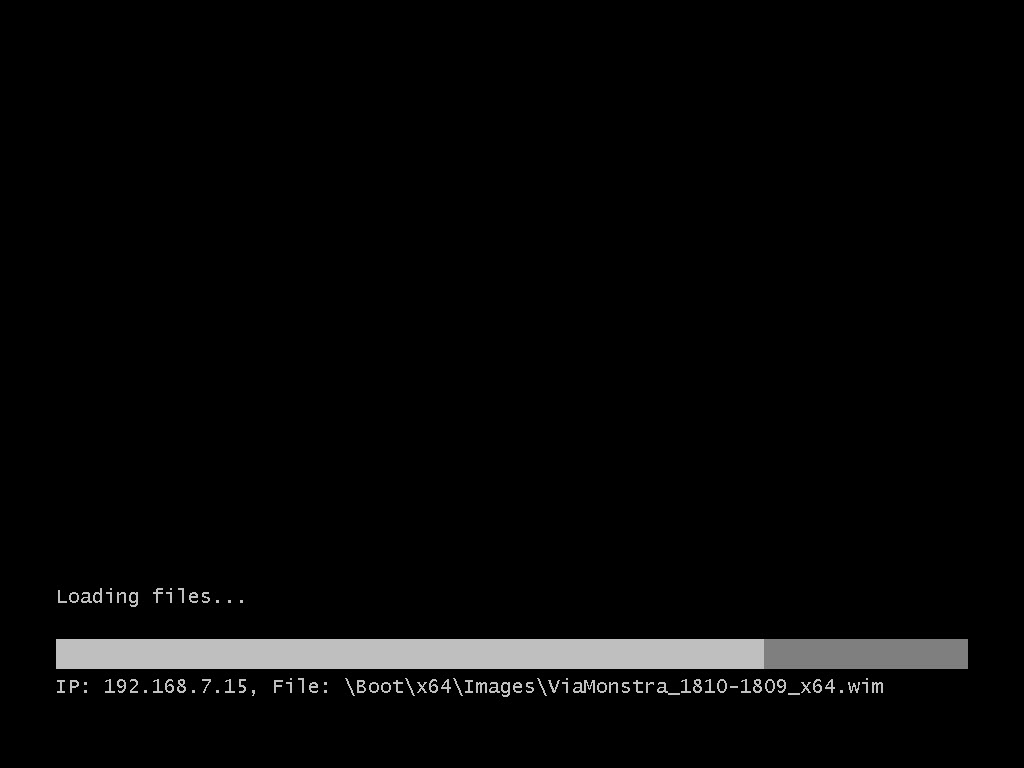
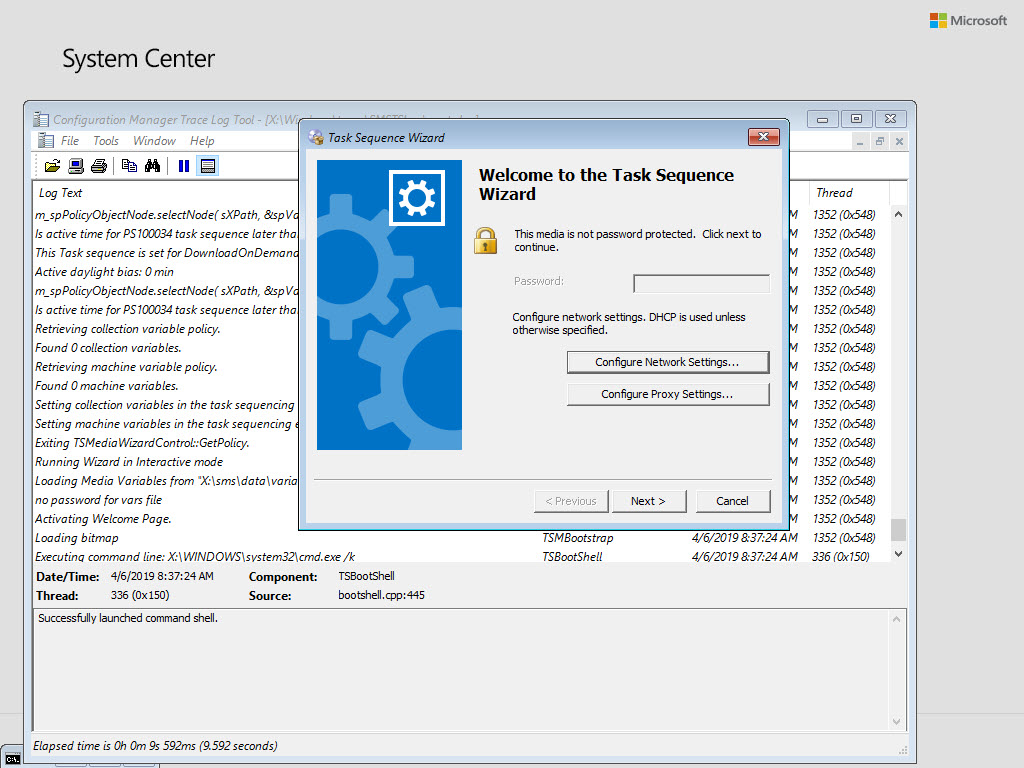
and you should see a happily PXE booted system that is ready for some OSD action.
Now it is time to head over to 2Pint Software and checkout how you can incorporate BranchCache into your boot images using their free OSD Toolkit.
Originally posted on https://miketerrill.net/

I got lost around the tsmbootstrap as it is not clear where you got that. the way you wrote this assumes i know where to go, which i do not. also, what/where do you create the directory for the .wim’s you get from the create usb media?
i believe i answered my own question. i was using the standalone boot media and not bootable media. I’m creating the bootable media now and will go through that.
nvm… still lost
Mount the bootable ISO you created and grab the TsmBootStrap.ini and Variables.dat from the SMS\data directory. Let me know if this still doesn’t help.
-Mike
How does this work when you have two wds servers, with different images. Do you need to create special bootimage like above to import in the other WDS? Or can you just use the bootimage from WDS1 and import it in WDS2 and have the same selection choice to which server F12 must go?
If you have multiple WDS servers, then you would just import the required boot images on each of the WDS servers and configure them accordingly.