
The Microsoft Diagnostics and Recovery Toolset (aka DaRT) is a powerful toolset that is available to Software Assurance customers. Johan Arwidmark recently wrote a post called Back to Basics – Reset the Windows 10 Admin Password using DaRT that covers the steps for creating the recovery media. The DaRT Recovery Image Wizard will generate a WIM file and ISO file and it will even create a CD, DVD (if you have one of those attached to your system) or a USB key. For my test below, I was curious and generated my DaRT boot image using Windows 11 21H2 and the corresponding ADK and it worked just fine.
If you work in a lab where you do a lot of diagnostics and testing, it can be really handy to add it to a PXE server so that you do not have to keep track of USB keys. I have started using 2Pint Software’s iPXE Anywhere solution a lot lately and it is mind blowing. Let’s jump right in and see how we can add our newly generated DaRT boot.wim that we generated.
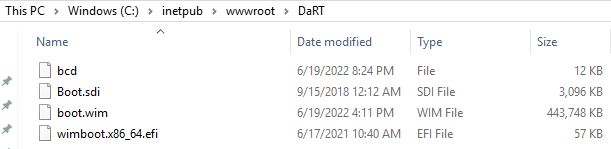
- Create a directory on your IIS server and copy the boot.wim to this location (Note: I am just using the default IIS location, C:\inetpub\wwwroot, as this is just a lab):

- Copy Boot.sdi and wimboot.x86_64.efi (assuming this is for 64-bit) from C:\ProgramData\2Pint Software\2PXE\Remoteinstall\Boot to the directory that was previously created:

- If you have already staged a CM Boot Image, then you can simply copy one of the bcd files from C:\ProgramData\2Pint Software\2PXE\Remoteinstall\Tmp to the directory that was previously created. It should just be called bcd with no file extension. Creating the BCD from scratch can be done but is beyond the scope of this blog. The final directory contents should look like the following:
- Edit the 2Pint.2PXE.Service.exe.config as admin (the default location is C:\Program Files\2Pint Software\2PXE).
- Find the section <CustomMenuItems> and add a new entry <add key=”CustomWinPEDaRT” value=”DaRT”/>:

- Look for and copy a section called <add key=”CustomWimWithFilesFrom2PXE”… (I already modified this one to point to OSDCloud):

- Insert it before the closing custom items tag (</CustomItems>) and update the key name and value:

- Save the config file and then cycle the 2Pint 2PXE Server service.
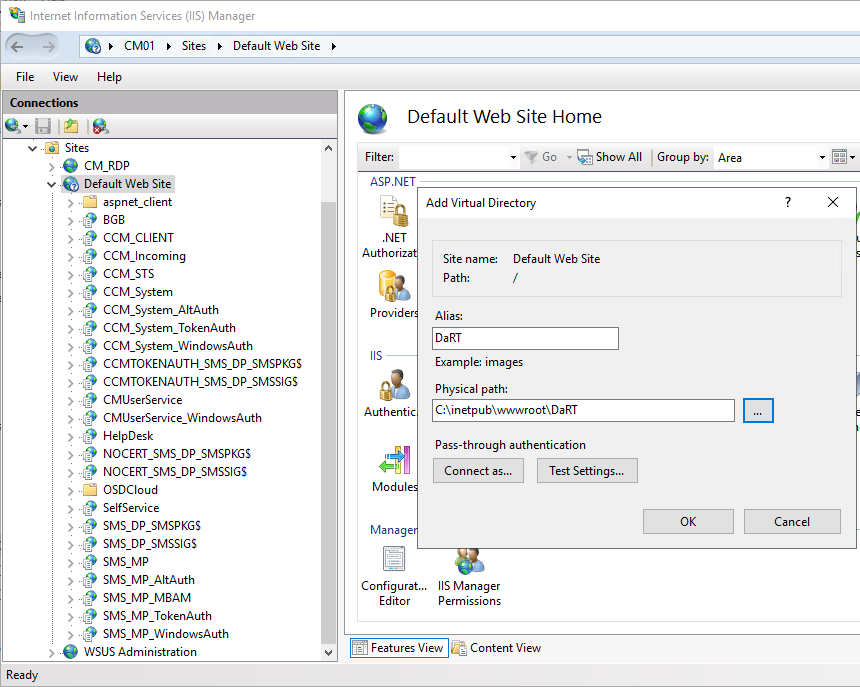
- Create a new Virtual directory that points to C:\inetpub\wwwroot\DaRT:
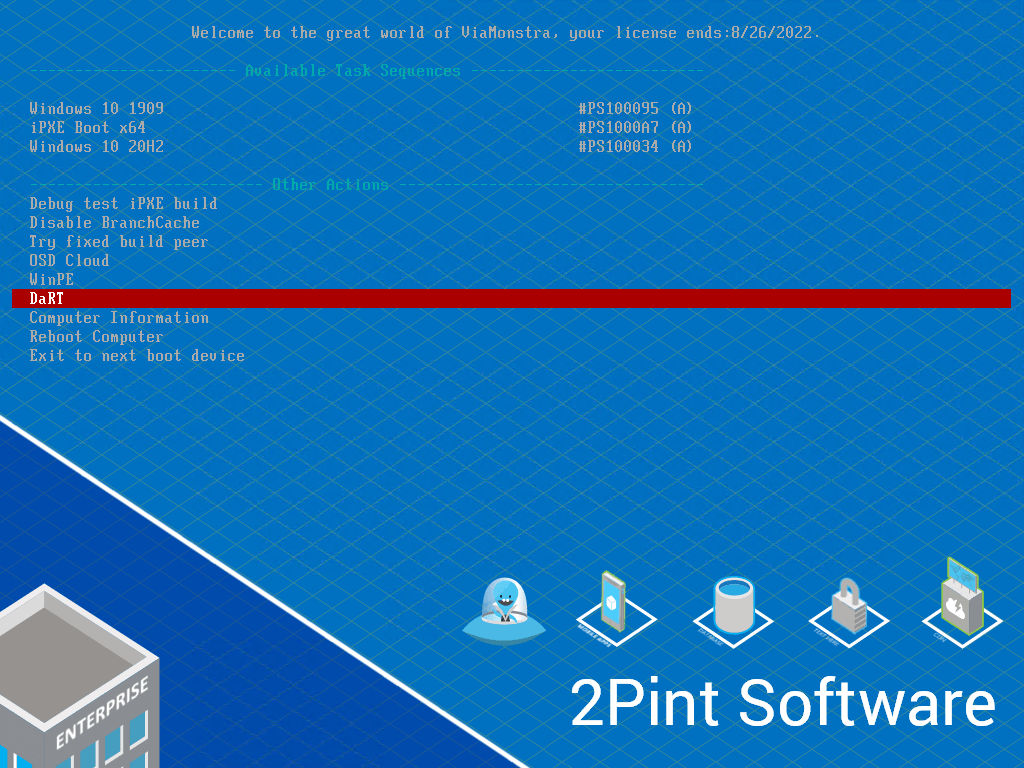
- Boot a client and notice the new DaRT entry under Other Actions:
- If all works correctly, you will see the files being downloaded via http and you might even see some BranchCache action:
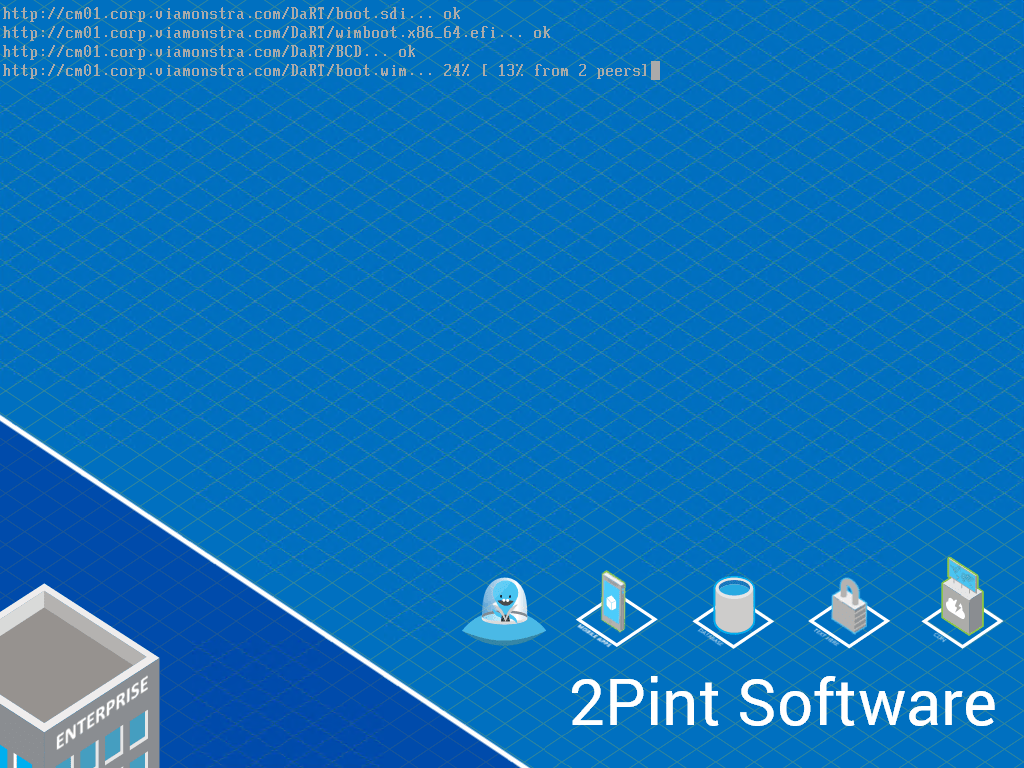
- And then we get the start of the DaRT boot process:
Originally posted on https://miketerrill.net/
